DIY UV DTF is transforming home-based apparel printing by letting creators apply vibrant designs with UV-curable inks directly onto transfer film. This approach blends the convenience of home-based DTF workflows with the speed of UV LED curing, cutting wait times for ready-to-transfer results. By choosing the right transfer film quality and a compact, beginner-friendly toolkit, hobbyists can achieve crisp images and durable adhesion without a full studio. A practical workflow—from DTF printer setup to curing and transfer—helps you refine your process, minimize waste, and build confidence, while keeping your workspace organized and safe. With clear steps, DTF tools and materials, and smart troubleshooting tips, you can level up your at-home transfers and enjoy professional-looking results, while sharing your successes with a growing community of makers.
Seen through a different lens, this at-home transfer technique—also common in home-based DTF workflows—blends digital printing with ultraviolet-curable inks to deliver vivid results on a range of fabrics. Think of it as a compact textile transfer workflow that uses a dedicated film, a UV-curable ink system, and a streamlined printer setup for small studios or hobbyists. In place of traditional powders alone, the process emphasizes film quality, precise curing, and reliable adhesion, aligning with broader topics like transfer media compatibility and color management. For creators exploring DIY apparel printing, this approach fits into the broader category of home-based DTF projects, offering control over color fidelity and turnaround. As you experiment, you’ll encounter common considerations—from substrate compatibility to workflow optimization—that echo the priorities readers search for when evaluating DTF at home projects.
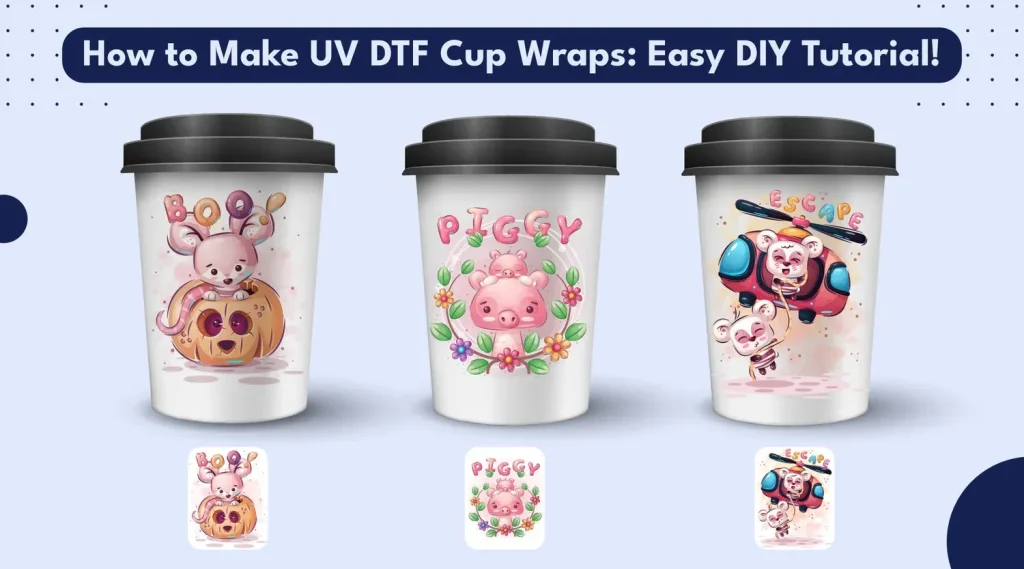
DIY UV DTF: What It Is and Why It Changes Home Printing
DIY UV DTF combines the precision of DTF printing with the speed of UV curing, enabling vibrant designs to be transferred onto apparel, bags, and other substrates from a home setup. By printing onto UV-curable inks on a dedicated transfer film, crafters can bypass some traditional steps and achieve rapid color locking and crisp edges. This approach is especially appealing for makers who want more control over turnarounds and a streamlined workflow that fits a smaller workspace.
Understanding the core idea helps builders plan their toolkit around DTF printing at home and UV LED curing. The result is transfers that are ready to apply sooner, with improved color consistency across fabrics and substrates. The DIY route often reduces upfront costs while offering flexibility to experiment with different films, inks, and substrates—making professional-looking results accessible to hobbyists and small operations alike.
Tools and Materials for DIY UV DTF: A Practical Starter Kit
A solid toolkit begins with the right DTF tools and materials. Prioritize a UV-curable ink-capable printer or a DTF printer that can be upgraded for UV inks, plus a compact UV curing unit to lock in color quickly. Transfer film designed for UV inks, a release film, and a reliable powder adhesive are also essential. Selecting compatible tools and materials helps ensure consistent results and reduces the learning curve for new users.
Beyond printers and curing units, stock the workflow with substrates suited to heat transfer, ICC profiles or color-management software, lint-free wipes, and PPE for powder handling. Keeping a steady supply of films, powders, and cleaners helps maintain print quality and minimizes downtime between projects. Focusing on quality-control items like film texture and edge sharpness supports repeatable outcomes across runs.
Setting Up Your DTF Printer for UV Inks and Efficient Workflows
The first step is aligning the printer with UV-curable inks and confirming compatibility with your transfer film. This means checking the printer’s capability to lay down UV inks reliably and configuring RIP settings to optimize resolution, color cast, and white-layer placement if needed. A proper setup also involves selecting a suitable curing unit and ensuring your workspace supports safe, consistent curing during the run.
Next, refine the workflow to minimize misprints and waste. Establish clear color-management practices, keep test prints for calibration, and document printer settings for future batches. As part of DTF printer setup, validate your transfer film compatibility and printer calibration on a few substrate samples to verify adhesion, vibrancy, and edge fidelity before scaling up.
Choosing Transfer Film and Achieving Transfer Film Quality on UV DTF
Transfer film quality is central to obtaining sharp, durable transfers. Look for films with a consistent surface texture, predictable release behavior, and minimal residue that could affect ink transfer. The film choice interacts with UV inks to determine edge definition, color saturation, and the ease of removing the carrier after transfer.
Pair the right transfer film with your ink system and design files to optimize outcomes. Color alignment and edge fidelity hinge on matching media to your printer, film, and substrate. When working with UV DTF at home, testing multiple film options on small samples helps you document what delivers the best results across your common fabrics and colors.
UV LED Curing: Fast Drying, Strong Adhesion, and Safe Practices
UV LED curing provides immediate or near-immediate set times, increasing throughput and reducing the likelihood of smudges. A well-chosen UV curing unit delivers adjustable exposure that helps harden the ink and lock in color on the transfer film, contributing to stable transfers with good adhesion to textiles and other substrates.
Safety and process integrity matter as you scale. Ensure proper ventilation, PPE, and adherence to ink-curing recommendations to avoid scorching or ink bleeding. Regularly inspect curing equipment, maintain consistent placement between the lamp and film, and keep the workflow clean to preserve film surface integrity and overall print quality.
Troubleshooting, Maintenance, and Budget-Friendly Startup Strategies
Even a well-planned DIY UV DTF setup can encounter hiccups. Common issues include color variations, powder adhesion problems, or ink edge smearing. Use your ICC profiles and RIP settings to address color discrepancies, verify powder coverage and melting temps, and ensure the cure is uniform across the printed area.
Finally, build a sustainable approach by prioritizing essential tools and gradually upgrading. Start with affordable, reliable components, test on inexpensive fabrics, and document results to refine your process. Regular maintenance—cleaning print heads, rollers, and film paths—helps extend the life of your equipment and keeps your at-home DTF workflow productive and consistent.
Frequently Asked Questions
What is DIY UV DTF and why should I try it at home?
DIY UV DTF combines DTF printing at home with UV LED curing, using UV-curable inks printed onto a transfer film and cured immediately. This approach can deliver faster handling, improved color stability, and broader substrate compatibility while keeping startup costs lower than a full commercial setup.
What tools and materials are essential for starting with DIY UV DTF?
Key tools and materials include a UV-curable ink-capable printer or upgraded DTF printer, a UV curing unit or UV LED lamp, transfer film and release film, powder adhesive, a heat press, squeegees and rollers, cutting tools and a stable workstation, and PPE/ventilation. Also have transfer film stock, compatible substrates, adhesive powder, ICC profiles, and cleaning supplies for a smooth workflow.
How do I set up my DTF printer for DIY UV DTF and UV curing?
Confirm your printer supports UV-curable inks or plan a upgrade. Install appropriate RIP and ICC profiles, enable UV-specific settings, and calibrate color to your transfer film. Use a reliable UV curing unit and follow the film manufacturer’s guidance for curing and handling to ensure consistent results.
How important is transfer film quality for DIY UV DTF results?
Transfer film quality is critical. A film with consistent surface texture and low residue improves color transfer, edge sharpness, and adhesion, while poor film quality can cause blurry edges, color shifts, and weaker bonding.
What are best practices for UV LED curing in a DIY UV DTF workflow?
Use a curing unit with adjustable exposure time and distance, test cure times on sample prints, and ensure uniform exposure to avoid hotspots or scorching. Follow ink and film manufacturer guidelines, maintain proper ventilation, and allow sufficient cooling after curing to protect print integrity.
What are common issues and quick fixes for DIY UV DTF transfers?
Color issues can be addressed by reprofiling ICC profiles and checking RIP settings; powder adhesion problems by ensuring even coverage and correct melt temperature; ink smearing by improving curing and protecting the film pre-press; uneven transfers on curved items by adjusting pressure and using protective sheets; white ink challenges on dark fabrics by verifying white layer order and coverage.
| Key Point | Summary |
|---|---|
| What DIY UV DTF is and why it matters | A hybrid method using UV-curable inks printed directly on transfer film, then cured instantly. This enables faster transfer readiness, improved color consistency, and potentially lower startup costs and greater control over final appearance compared with traditional water-based DTF. |
| Key benefits | – Faster drying and curing due to UV exposure – Greater color stability and layer control – Reduced long-term production footprint for small businesses or hobbyists – Flexibility to print on a variety of materials with the right transfer film |
| Essential tools | – UV-curable ink-capable printer or UV-enabled DTF printer – UV curing unit or UV LED lamp – Transfer film (DTF film) and release film – Powder adhesive (hot-melt) for DTF – Heat press with precise temperature, time, and pressure control – Squeegee, soft brayer, and silicone rollers – Cutting tools and a workstation – PPE and ventilation |
| Materials to keep on hand | – Transfer film stock designed for UV inks – Substrates suitable for heat transfer (e.g., cotton, polyester blends, some synthetics) – Adhesive powder and a powder shaker, plus a heat source for melting – ICC profiles or color management software – Cleaning supplies and lint-free wipes |
| Setup and workflow | – Design and color management: high-res files (300 dpi+) and soft proofing; use ICC profiles for UV inks – Output settings: max optical resolution feasible, linear color profiles, correct white ink layers, UV-specific settings – Printing onto transfer film: print a small test image; manage dot gain/color saturation via RIP – Powder adhesive application: apply a thin, even layer; remove excess powder – Curing and powder melt: melt adhesive powder onto printed film with controlled exposure – Cutting and alignment: cut to size and align with substrate – Transfer process: heat press transfer with appropriate cover sheet if required – Cooling and finishing: cool completely and trim – Inspection and wash testing: verify durability with a wash test |
| Step-by-step DIY UV DTF process (condensed) | 1) Prepare design with color settings and print on transfer film 2) Apply adhesive powder evenly and cure 3) Cut, align, and place on fabric or substrate 4) Apply heat and pressure with a calibrated press 5) Remove film backing and cool before inspecting 6) Wash test to verify longevity and color retention |
| Quality control and troubleshooting | – Color mis-match or dull colors: recheck ICC profiles and RIP; re-profile if needed – Powder not adhering or transferring poorly: ensure uniform coverage and proper temperature/time for melting – Ink smearing or faint edges: ensure proper curing and protect film from moisture – Uneven transfers on curved items: use a teflon/silicone sheet and adjust pressure/hold time – White areas appearing gray on dark fabrics: verify white ink coverage and layer order in RIP |
| Safety and maintenance considerations | – Print in a well-ventilated area when handling adhesives and powders – Wear PPE to protect eyes, skin, and lungs from powders/fumes – Follow ink curing times and temperatures per manufacturer guidance – Regularly clean print heads, rollers, and the transfer path to minimize dust and lint |
| Cost considerations and getting started on a budget | – Prioritize a reliable UV-curable ink-capable printer, a modest curing station, and compatible transfer film – Gradually upgrade tools and experiment with different powders/films/substrates – Start with low-cost fabrics and simple designs to build confidence and manage ROI |
Summary
In summary, the provided content explains how DIY UV DTF combines UV-curable inks with transfer films to enable at-home, high-quality transfers with faster curing and strong adhesion. The process includes assembling a practical toolkit, selecting compatible materials, and following a structured workflow from design to final transfer, emphasizing color management, curing, and quality control. The DIY UV DTF approach aims to provide accessibility, cost efficiency, and control for crafters and small businesses looking to achieve professional results without a full commercial setup.

