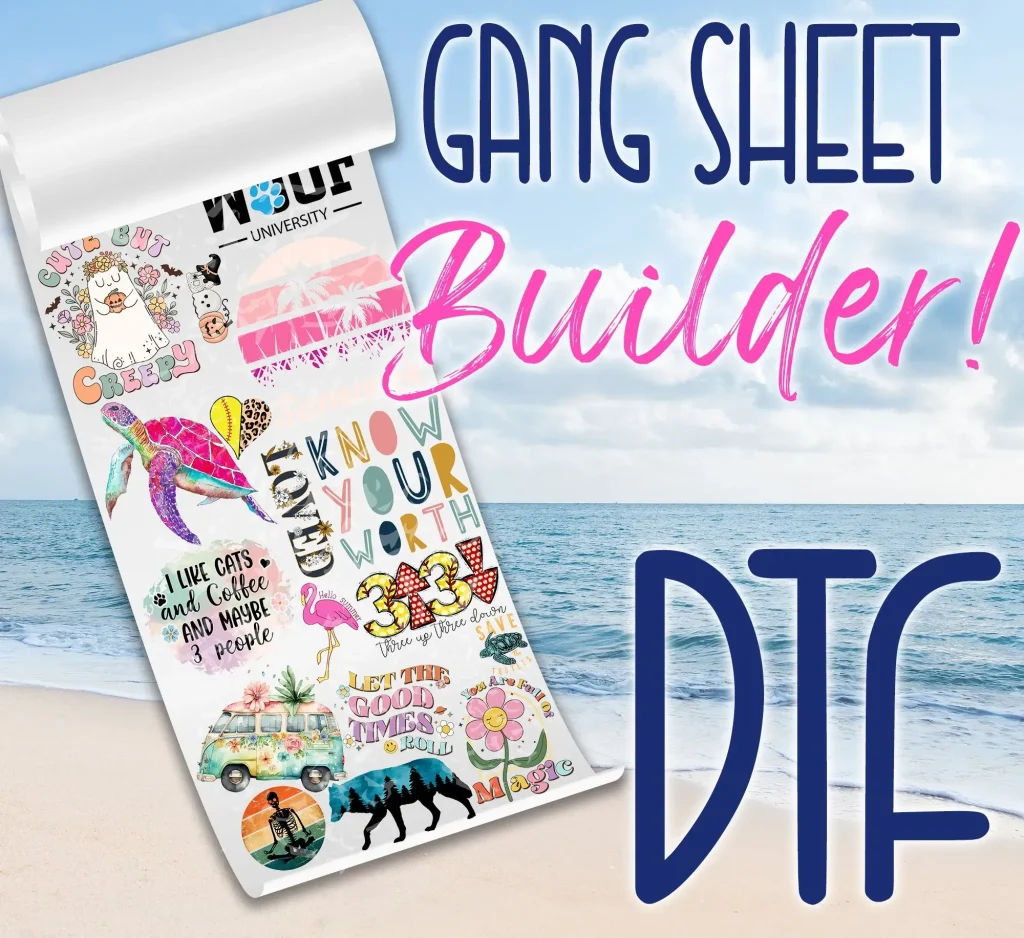
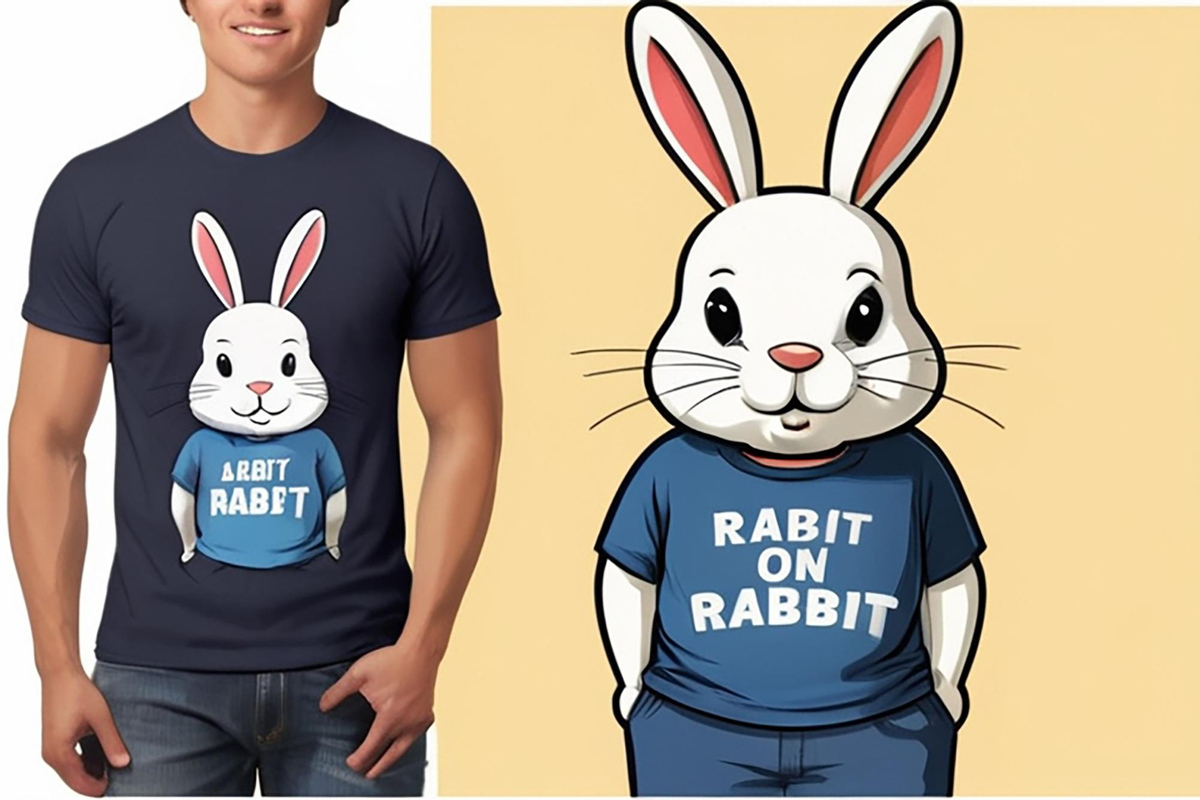
DIY DTF transfers, short for Direct to Film transfers, have taken the crafting world by storm, offering an exciting way to personalize fabrics with vibrant designs. If you’re a beginner looking to delve into DTF printing, understanding the process is essential for success. This guide will introduce you to everything you need, from selecting the right DTF transfer materials to mastering the art of applying DTF transfers effectively. We’ll cover practical steps for creating stunning designs, ensuring your projects have the professional touch they deserve. Get ready to unleash your creativity with the best practices for DTF, transforming ordinary textiles into extraordinary pieces!
A popular method among hobbyists and entrepreneurs alike, Direct to Film printing has emerged as a versatile solution for customizing textiles. This innovative technique allows artisans to print intricate designs onto special film that can then be transferred to a wide range of fabrics. Whether you’re crafting unique apparel or creating merchandise for a small business, understanding how to make DTF transfers is crucial. The flexibility of DTF methods, combined with the ability to achieve high-quality results, makes it a sought-after choice for anyone looking to elevate their design projects. Join us as we explore the ins and outs of this exciting crafting trend and learn how to create impressive fabrics that stand out.
The Basics of DTF Printing for Beginners
If you’re new to DIY DTF transfers, understanding the fundamentals of DTF printing is crucial to achieve great results. DTF, short for Direct to Film printing, is a revolutionary method that allows crafters to print custom designs onto film, which can then be applied to various fabrics. For beginners, delving into the world of DTF printing can seem overwhelming at first, but with the right guidance and tools, it’s a straightforward process. The technique stands out because it offers vibrant colors and durability, making it an excellent choice for personalized apparel.
When starting your DTF printing journey, familiarize yourself with the necessary equipment, including a DTF printer, transfer films, and specialized inks. Each component plays a pivotal role in ensuring that the designs remain intact and vibrant after multiple washes. Moreover, understanding the different fabric types, such as cotton, polyester, and blends, will significantly impact the end result of your projects, ensuring that your designs not only look beautiful but also last long.
Essential DTF Transfer Materials You Need
To successfully create DIY DTF transfers, gathering the right materials is paramount. First and foremost, high-quality DTF transfer film is essential, as it acts as the base for your printed design. This film is coated to allow the ink to adhere properly, making it an indispensable aspect of the process. Additionally, using DTF printing ink that is specific to this technique is crucial. Standard inks may not provide the same level of adhesion or color quality, leading to disappointing results on fabric.
Other essential materials include a reliable heat press, which is necessary to apply the transfer to your fabric effectively. Ensuring the heat and pressure are correctly set is key to achieving a successful transfer. You will also need adhesive powder, which plays a critical role in bonding the design to the fabric during the heat application phase. By investing in quality materials, you increase the chances of producing stunning and durable finished products that stand out.
Step-by-Step Guide: How to Make DTF Transfers
Making DTF transfers involves a series of systematic steps, and following them carefully will yield the best results. The first step is preparing your design using graphic software, ensuring to mirror any text to guarantee that it appears correctly on your final product. Once your design is ready, the next crucial phase is printing. It’s important to load your DTF transfer film into your printer correctly and adjust the printer settings optimized specifically for DTF printing. This ensures that the ink density is appropriate and that your film adheres seamlessly during the transfer.
Once the design has been printed, you must apply the adhesive powder while the ink is still wet. This is essential for the ink to bond properly to the fabric later on. Following that, you need to cure the transfer with a heat press—this activates the adhesive and prepares the design for the ultimate transfer to your chosen fabric. Each of these steps is vital to ensuring that the design adheres well, maintains its vibrancy, and withstands the test of time.
Applying DTF Transfers: Tips and Techniques
Applying your DTF transfers correctly is just as important as the preparation and printing processes. After curing the transfer, the next step is crucial: positioning the transfer on your fabric. It’s advisable to use a protective sheet over the transfer to prevent any burning or damage during the heat application. Pay close attention to the heat press settings to ensure you’re using the recommended temperature and pressure for the specific adhesive powder you’ve chosen.
Once you’ve pressed the transfer onto the fabric, allow it to cool slightly before peeling back the film. Peeling too early can result in lifting or imperfections in the design. Should you notice that any areas require reinforcement, it’s possible to press them again gently. Practicing this step will help ensure that your final products are not only beautiful but also resilient against fading or flaking after washes.
Best Practices for Creating High-Quality DTF Transfers
To achieve the highest quality DTF transfers, adhering to best practices is invaluable. First, always choose top-notch materials. The quality of DTF inks, transfer films, and adhesive powders can significantly impact the vibrancy and durability of your finished designs. It’s recommended to invest in reputable brands to avoid issues with color fading or transfer adhesion.
Additionally, testing on different fabric types before embarking on a significant printing project is wise. Each material behaves differently with DTF transfers, and knowing which fabrics work best for your designs can save time and materials. Furthermore, don’t hesitate to explore intricate designs, as the DTF printing method supports high-resolution images beautifully, allowing you to unleash your creativity.
Troubleshooting Common DTF Printing Issues
Even with careful preparation, there can be challenges during the DTF printing process. Common issues include poor adhesion, fading colors, and inconsistent print quality. If you notice that your transfers aren’t sticking well, it may be due to incorrect heat settings or insufficient curing time. Make sure to follow the guidelines provided with your adhesive powder meticulously.
Additionally, if your colors don’t appear as vibrant as expected, consider checking your printer’s ink levels and the quality of the DTF ink being used. Sometimes, the printer settings for ink density may need adjustment. By keeping a systematic approach to troubleshooting, you can enhance your DTF printing skills and ensure stunning results in your custom fabric designs.
Frequently Asked Questions
What is DIY DTF printing for beginners and how does it work?
DIY DTF printing, or Direct to Film printing, is a versatile method for creating custom fabric designs. It works by printing your chosen design onto a special film using DTF ink. Afterwards, an adhesive powder is applied before curing the transfer with a heat press. Once prepared, the design is transferred onto fabric, allowing for vibrant and durable prints.
What materials do I need for making DIY DTF transfers?
To make DIY DTF transfers, you’ll need specific materials: DTF transfer film, DTF ink, a DTF printer (preferably an Eco-Solvent printer), a heat press for application, suitable graphic design software, and adhesive powder to bond the design. These materials are essential for achieving high-quality transfers that adhere well to various fabrics.
How do I correctly apply DTF transfers to fabric?
Applying DTF transfers involves several steps: First, ensure your design is printed on DTF transfer film. Next, while the ink is still wet, sprinkle adhesive powder onto the design. Cure the transfer using a heat press to activate the adhesive, then position the transfer on your fabric, cover it with a protective sheet, and press it according to specific temperature and time guidelines to ensure proper adhesion.
Can I use any fabrics for DIY DTF transfers, or are there specific best practices to follow?
While DIY DTF transfers can be used on various materials like cotton and polyester, it’s important to test different fabrics to find the best compatibility. Best practices include using high-quality DTF films and inks, following manufacturer instructions closely, and conducting test prints before committing to larger projects to ensure optimal results.
What are the best practices for creating high-quality DIY DTF transfers?
To create high-quality DIY DTF transfers, focus on using quality materials, such as premium DTF inks and films. Always prepare your design accurately in graphic software and follow the steps for applying adhesive powder and curing diligently. Experimenting with designs and testing on various fabrics can also help improve the outcome of your DTF projects.
Where can I find tutorials or resources for DIY DTF printing for beginners?
For beginners interested in DIY DTF printing, numerous resources are available online. Websites and blogs dedicated to crafting often share detailed tutorials, including videos and articles on DTF techniques. Join crafting forums or social media groups to connect with others, share experiences, and learn tips from experienced DTF printmakers.
| Key Points | Details |
|---|---|
| Introduction to DIY DTF Transfers | DTF transfers are popular for creating custom designs on textiles, suitable for crafters and small businesses. |
| Understanding DTF Transfers | Durable and versatile method for customizing fabrics using heat and pressure. |
| Materials Needed | DTF transfer film, DTF ink, DTF printer, heat press, graphic software, adhesive powder. |
| Step 1: Prepare Your Design | Use graphic software to create and mirror your design. |
| Step 2: Print the Transfer | Load the printer with DTF film and print your design. |
| Step 3: Apply Adhesive Powder | Sprinkle adhesive powder on the wet ink before drying. |
| Step 4: Cure the Transfer | Activate adhesive by heat pressing the printed design. |
| Step 5: Transfer to Fabric | Press the cured transfer onto your chosen fabric. |
| Step 6: Peel and Finish | Allow cooling before peeling the film to ensure durability. |
| Best Practices | Use quality materials, test fabrics, and follow instructions for great results. |
Summary
DIY DTF Transfers provide an exciting opportunity for creative expression and customization in the world of fabric printing. This method not only offers versatility in design application but also ensures that vibrant, long-lasting images can be achieved regardless of the fabric type. By following the detailed, step-by-step instructions outlined in this guide, enthusiasts can embark on a rewarding journey to master DTF printing techniques. With the right materials and practices, you can create unique textiles that reflect your style or even serve as professional products in your own small business. Take the plunge into DIY DTF Transfers today and unleash your creative potential!


