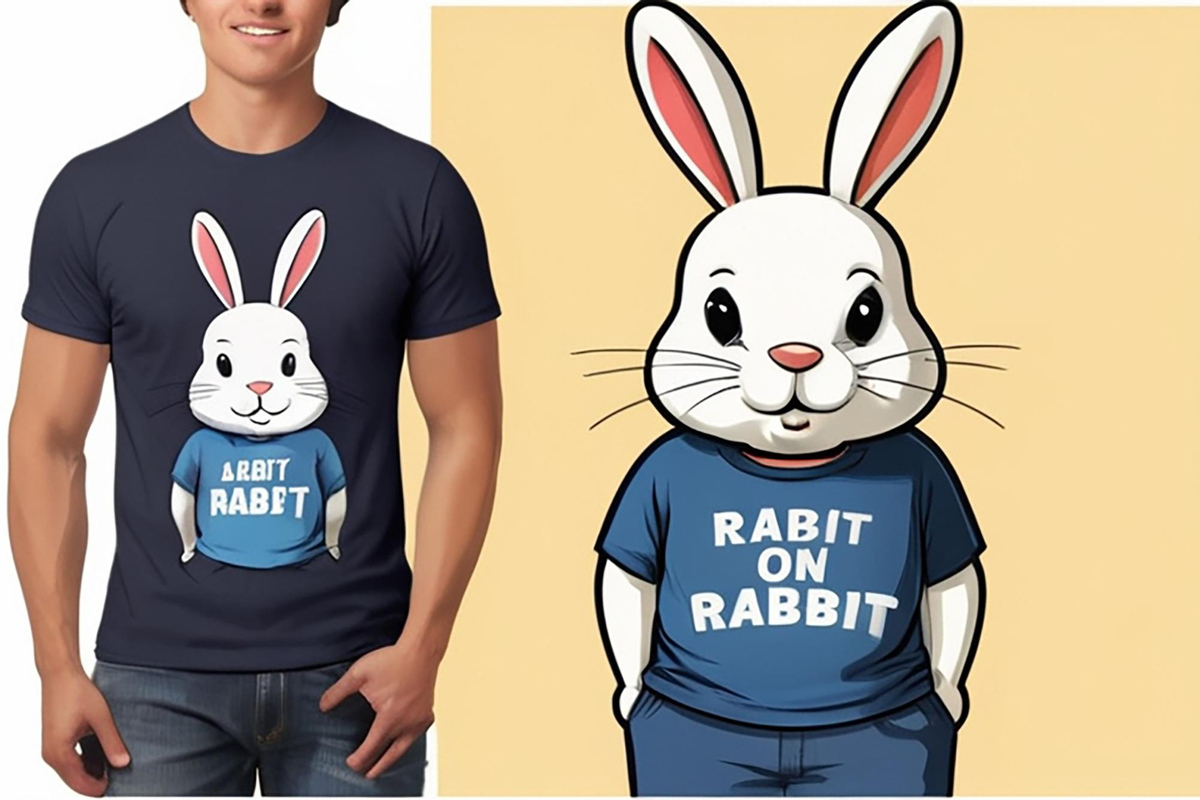
DTF transfers, a revolutionary technique in the world of custom apparel, offer an exceptional way to bring your designs to life. By utilizing the Direct to Film printing process, this method prints vibrant designs onto specialized films that can be easily heat-pressed onto various fabrics, ensuring long-lasting and eye-catching results. In this guide, you will discover how to make DTF transfers that resonate with quality and uniqueness, making them an ideal choice for enthusiasts and professionals alike. With a focus on the DTF printing process, we’ll walk you through each crucial step, from design creation to the final transfer onto your fabric. Get ready to elevate your printing game with the incredible potential of DTF transfer printing!
Exploring the world of film-based printing techniques, creating DTF transfers showcases an innovative approach to fabric decoration. This method combines the advantages of direct-to-film technology with heat transfer capabilities, allowing for meticulous detail and vibrant color output. Perfect for apparel businesses or DIY projects, this technique enables users to apply high-quality graphics onto various materials swiftly. Whether you’re delving into direct-to-film applications or seeking to enhance your printing repertoire, understanding how to produce these transfers can unlock numerous creative opportunities.
Understanding the DTF Printing Process
The Direct to Film (DTF) printing process is a game-changer for custom apparel and fabric printing. It allows for vibrant designs to be printed directly onto a special film, which can then be heat-pressed onto a fabric of your choice. This versatility affords users the ability to create colored prints on multiple material types without worrying about wash durability or fading. The process begins with careful artwork design and culminates in the heat transfer, seamlessly merging creativity with technical precision.
Key to mastering DTF printing is understanding the workflow. The series of steps, from design creation and film printing to adhering the printed film to fabric, forms the foundation of successful transfers. Each stage requires meticulous attention to detail, particularly in selecting the right inks and films that complement your materials. Knowing how each component interacts within the process ensures you avoid common pitfalls and achieve high-quality results.
Frequently Asked Questions
What are DTF Transfers in DTF printing process?
DTF Transfers, or Direct to Film transfers, utilize a specialized printing method where designs are printed directly onto a film using DTF inks. This process allows vibrant and durable graphics to be transferred onto various fabric types, making it ideal for custom apparel.
How do I create DTF transfers from the design stage?
Creating DTF transfers begins with designing your graphic using software like Adobe Illustrator. Ensure your design is in CMYK color mode and at a high resolution (300 DPI). Save your file in a suitable format like PNG or TIFF to maintain quality for printing.
What are the key steps in the DTF transfer printing process?
The DTF transfer printing process involves several key steps: first, create your design; then print it onto DTF film using a specialized printer; follow this by applying hot melt adhesive powder; cure the adhesive; and finally, heat press the design onto your fabric.
What is the importance of curing in DTF transfer printing?
Curing is crucial in the DTF transfer printing process as it ensures that the hot melt adhesive powder fully bonds with the ink. This step enhances the adhesion of the design to the fabric, resulting in a durable and high-quality print.
How can I ensure my DTF transfers adhere well to different fabrics?
To ensure good adhesion of DTF transfers, use high-quality DTF films and inks suited for the fabric type. Conduct test applications on various fabrics such as cotton and polyester to determine the best settings for heat and pressure during pressing.
What equipment should I invest in for making DTF transfers?
Essential equipment for creating DTF transfers includes a specialized DTF printer, a heat press, and a powder application unit. Choosing quality equipment will significantly enhance the efficiency and quality of your DTF printing process.
| Step | Description |
|---|---|
| 1: Design Creation | Create your design using software like Adobe Illustrator or CorelDRAW, ensuring a high resolution and correct file format. |
| 2: Printing onto DTF Film | Use a specialized DTF printer with water-based inks, ensuring a white under-base layer is included. |
| 3: Powder Application | Apply a hot melt adhesive powder over the wet ink to bond effectively with fabrics. |
| 4: Curing the Adhesive | Cure the printed and powdered film using heat to melt the adhesive powder. |
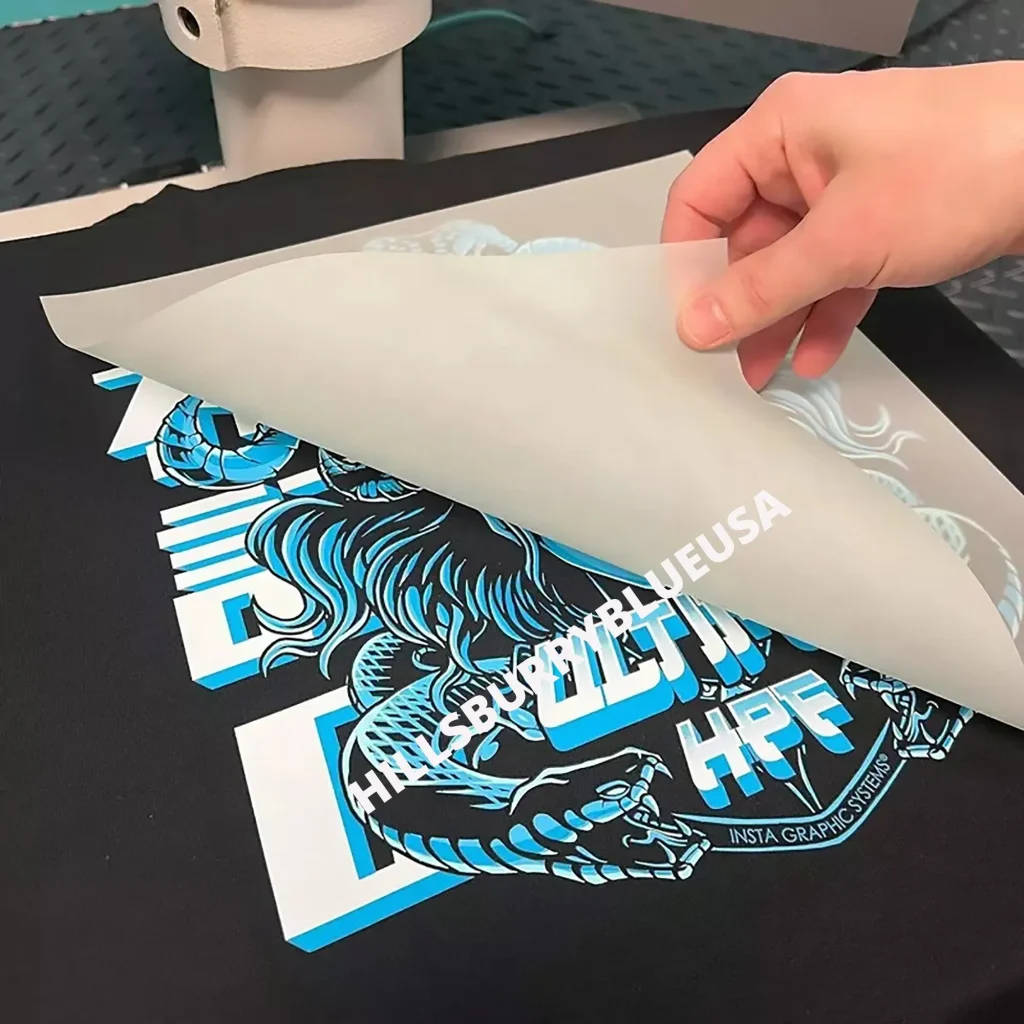
| 5: Transferring the Design | Position and press the cured film onto the fabric using a heat press. |
| 6: Peeling the Film | Allow cooling, then gently peel away the film to reveal the design. |
| 7: Final Curing | Perform a final heat press to set the design and enhance durability. |
Summary
DTF Transfers represent a revolutionary approach in the world of custom apparel, featuring a unique method of artwork transfer that promises vibrant and durable results. The process, from design creation to the final curing, allows for a practical yet artistic way to bring designs to life on various fabrics, making it a perfect solution for entrepreneurs and hobbyists alike. By following the detailed steps outlined in this guide and being mindful of equipment and materials, anyone can achieve impressive results. As the demand for custom prints increases, mastering DTF transfers can set you apart in a competitive industry.