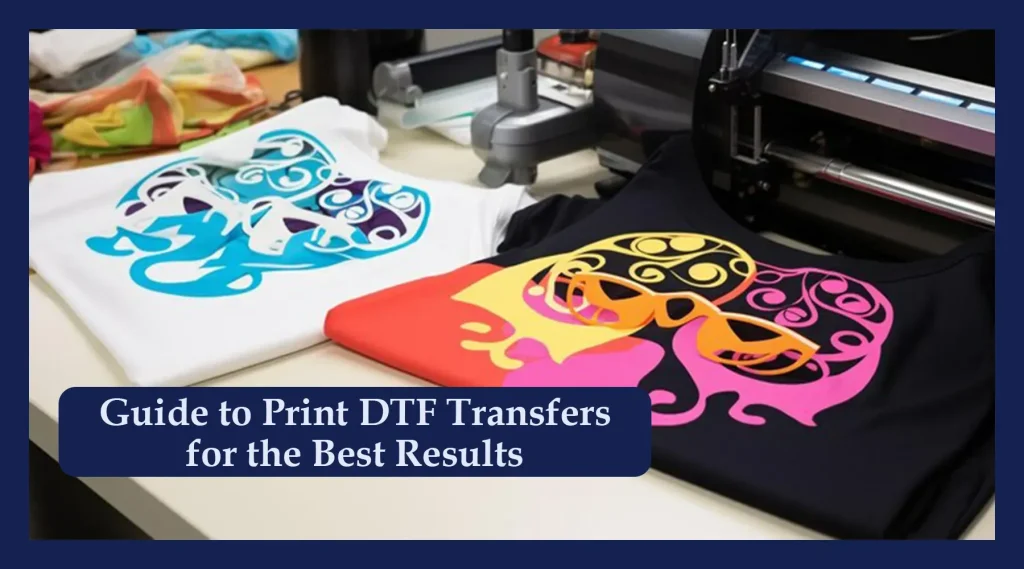
DTF transfers have revolutionized how small shops and hobby crafters bring designs to life on fabric. Direct to Film transfers let you print vibrant images directly onto a clear film that is later transferred onto a garment using a heat press. This approach blends flexible digital design with the durability of a professional finish, aligning with the DTF transfer process for one-off designs, custom runs, and boutique apparel. In this guide we walk through the core ideas behind DTF transfers and direct-to-film workflows, explore the DTF printing process, and share design tips for DTF to help move from design to a dazzling finished garment while keeping quality high and costs reasonable. Whether you’re testing a single shirt or a small run, these insights set you on the path toward a finished garment with DTF that stands up to wear.
This film-based decorating method leverages modern print-on-film technology to apply vivid artwork to textiles. After the design is prepared, the image is printed onto a transfer film, then a powdered adhesive is applied and cured before the garment is heated to bond. The result is a durable, flexible image that works across cotton, synthetics, and blends, making it suitable for small runs, custom orders, and merchandise. To optimize results, designers should plan color palettes carefully, account for underbase needs on dark fabrics, and test placement with mockups. The process combines digital art with a practical finishing step, making it a versatile option for designers seeking crisp detail and a soft hand.
Understanding DTF Transfers: From Concept to Fabric
DTF transfers have transformed how small shops and hobby crafters bring designs to life on fabrics. The idea behind DTF transfers is to print vibrant images on a clear film that is later bonded to fabric with heat. This approach combines digital design flexibility with the durability of a professional finish, making it ideal for one-off designs, custom runs, and boutique apparel.
DTF transfer process: In the DTF transfer process, you print on film, apply a powdered adhesive, cure it, and then position the film on the garment before applying heat and pressure. The result is a strong bond that works on cotton blends and polyester, across dark or light fabrics with minimal cracking or fading.
DTF Printing Process: Tools, Films, and Inks
A DTF printing process uses a specialized printer, transfer films, and an adhesive powder. The ink choices are optimized for film printing, delivering bright color, sharp detail, and smooth gradients that reproduce artwork faithfully.
After printing, the film receives a fine layer of adhesive powder and is cured to prepare for transfer. The film is then paired with a release layer and pressed onto the fabric with a heat press, where temperature and pressure determine color fidelity and durability.
Design Tips for DTF: Color, Resolution, and Placement
Design tips for DTF emphasize creating files at 300 dpi or higher for raster images, or ensuring vectors are converted to high-resolution bitmaps when needed. Managing color and contrast helps your artwork translate well from screen to fabric.
Plan for edge details and small text by choosing bold strokes or letterforms that print cleanly, and select a color palette with bold accents plus neutrals to maintain contrast on fabric.
From Design to Finished Garment with DTF: A Step-by-Step Workflow
The journey from concept to a finished garment with DTF begins with artwork prepared for the target garment. Create mockups to verify size and placement on the bust, sleeve, or back panel, then print on the DTF film using the correct inks.
A heat press is used to transfer the image with consistent pressure and temperature, after curing the adhesive powder and peeling away excess powder. The final step is to cool and peel the film to reveal the finished garment with DTF.
Curing, Finishing, and Quality Control in DTF Transfers
Curing the adhesive powder properly is essential to ensure the transfer remains durable after washing. Follow the manufacturer guidance for times and temperatures specific to your powder and film, and allow the garment to rest briefly after transfer, an important part of the DTF transfer process.
Quality control steps such as verifying color consistency, checking bond at the edges, and running a small test on similar fabrics help catch issues early. If problems appear, review line weights, adjust the printer color profile, and reprint with adjusted color values or different adhesive powder.
Care, Maintenance, and Durability of DTF Finished Garments
A finished garment with DTF benefits from simple care: turn inside out for washing, use a mild detergent, and avoid bleach or high heat in the dryer. Drying on low heat or air drying helps preserve the image and finish.
Durability and fabric considerations play a key role in how long the transfer lasts. Testing a sample on the target fabric type before production helps predict performance across washes, and proper curing and fabric choice maximize longevity.
Frequently Asked Questions
What are DTF transfers and how does the DTF printing process work?
DTF transfers are prints made on a heat-activated film coated with adhesive powder that bonds to fabric under heat and pressure. In the DTF printing process, you print the design onto the transfer film, apply and cure an adhesive powder, then place the film on the garment and heat press to create a durable image. This method supports vibrant colors on many fabrics, including cotton blends and polyester, and performs well on both dark and light garments.
How can I apply design tips for DTF to ensure a high-quality finished garment with DTF?
Design tips for DTF emphasize using 300 dpi or higher resolution, careful color management, and bold color choices with neutrals for strong contrast. Create mockups to test placement on the garment and plan how colors will translate from screen to film, adjusting for edge details and small text as needed. This helps ensure a clean, print-ready design that transfers well to a finished garment with DTF.
Which fabrics work best with the DTF transfer process, and how should you prepare them?
The DTF transfer process works well on a range of fabrics, including cotton blends, linen, and some polyester blends. For darker fabrics, consider a white underbase or a strong color layer to maintain brightness, and always test adhesive and curing temperatures on a fabric sample. Selecting the right adhesive powder and curing settings, followed by a short fabric test, helps predict durability and performance.
What steps guide me from design to a finished garment with DTF?
From design to a finished garment with DTF, start by preparing the artwork with the target garment in mind and test placement with mockups. Print on the DTF film with appropriate inks, apply and cure the adhesive powder, then remove excess powder and place the film on the fabric. Use a heat press with consistent pressure and temperature, then cool and peel the film to reveal the finished image.
What curing and finishing practices are essential for the DTF transfer process to maximize durability?
Curing and finishing require following the recommended times and temperatures for your powder and film. After transfer, let the garment rest briefly before washing to avoid micro cracks, and always follow care guidelines to preserve color and adhesion. Proper curing and gentle handling significantly extend the life of the design on the finished garment with DTF.
What quality control checks should I perform to prevent issues in DTF transfers and ensure consistent results on a finished garment with DTF?
Quality control should include verifying color consistency across the print, checking edge bonding, and performing a small test on fabric similar to your production materials. If issues appear, review line weights, adjust the printer color profile, and reprint with adjusted color values or adhesive powder. Document results and refine settings to achieve reliable, high-quality DTF transfers on the finished garment with DTF.
| Topic | Summary |
|---|---|
| What are DTF transfers? | DTF transfers are prints on adhesive-coated film that bond to fabric under heat and pressure, compatible with many fabrics and suitable for dark or light fabrics with durable results. |
| DTF printing process | Print on film with a specialized printer, apply adhesive powder, cure, layer with release film, then transfer with a heat press to the garment for a vibrant image. |
| Design tips for DTF | Use 300 dpi or higher; manage color; plan color blends for film; prevent color bleed on dark fabrics; use bold colors with neutrals; ensure edge details and small text print cleanly. |
| From design to finished garment | Prepare artwork with the garment in mind; mockups for placement; print onto DTF film; apply adhesive powder; cure; remove excess; transfer with heat; peel to reveal the image; finalize with liner removal as needed. |
| Curing and finishing | Follow powder/film manufacturer guidance for curing times/temperatures; rest the garment before first wash to reduce micro cracks. |
| Quality control and troubleshooting | Check color consistency, bond at edges, and test on similar fabric; adjust line weights, color profiles, and heat settings; reprint with tweaks as needed. |
| Care and maintenance | Turn garment inside out for washing; use mild detergent; avoid high heat and bleach; dry on low heat or air dry to preserve image. |
| Durability and fabric considerations | DTF works on cotton, linen, and blends; darker fabrics may benefit from film-based processes and possibly a white layer; test on target fabric to predict durability. |