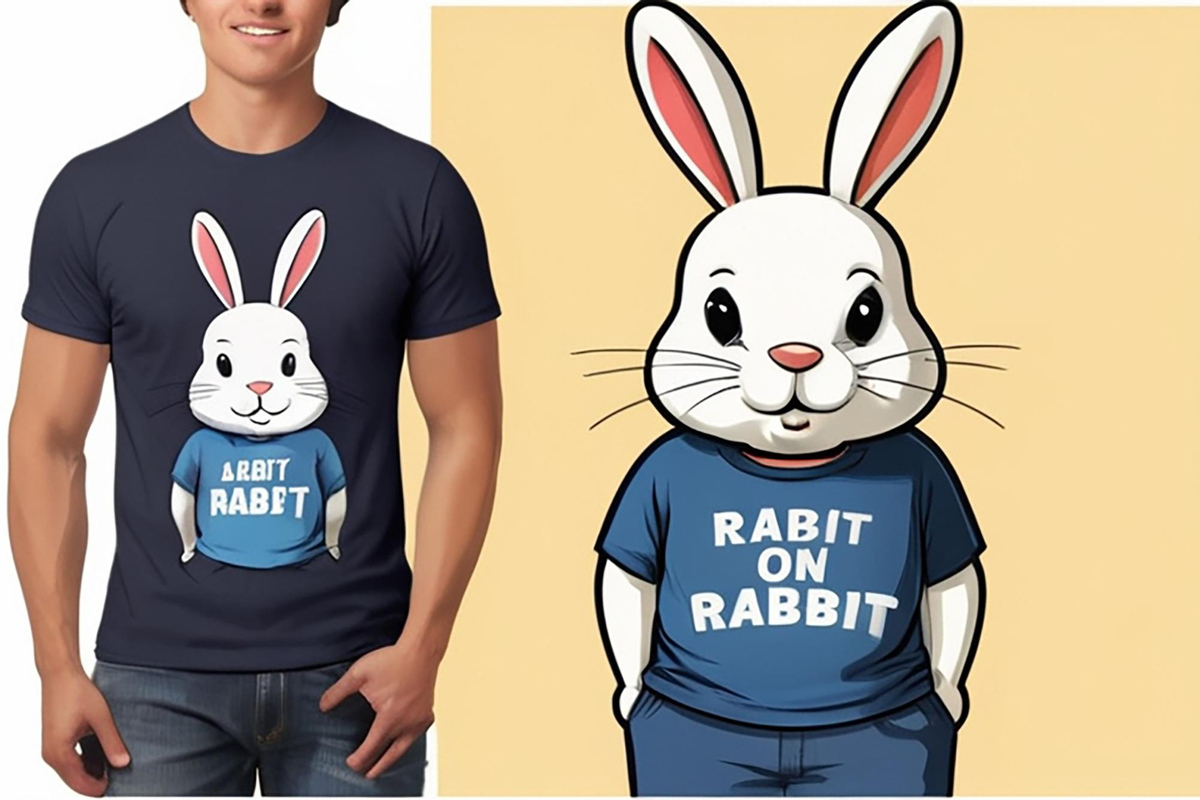
DTF transfers have redefined garment customization with vibrant color, a soft hand feel, and durable adhesion, making it easier for makers to push beyond basic screen-printing limits while staying economical and scalable for small runs, pop-up shops, and online storefronts. In this introductory guide, you’ll discover how to apply DTF transfers with a practical, step-by-step approach that covers design selection, powder adhesion, curing, alignment checks, and the essential interplay of heat, pressure, and timing across different fabrics and production contexts. We break down DTF transfer techniques and translate them into clear actions, from choosing the right PET film to dialing DTF transfer heat press settings for cotton, blends, and even dark fabrics, with tips on getting consistent results in varying room temperatures and humidity. You’ll also find DTF transfer finishing tips that help prevent edge lifting, ghosting, and sheen, plus troubleshooting steps to keep your workflow predictable, such as how to stage textiles, manage peel methods, and validate adhesion before a full run. Along the way, we highlight how DTF printing on fabrics can expand your design possibilities while keeping production efficient and scalable for small runs or custom orders, with notes on color fidelity, fabric compatibility, and finishing touches that enhance wear and wash durability.
Often called direct-to-film printing, this film-based garment decoration technique relies on printed sheets, adhesive powders, and a calibrated heat press to bond designs to fabrics. As an alternative to traditional methods, the process emphasizes precise design preparation, consistent curing, and reliable peel methods to deliver vibrant results on cotton, blends, and synthetic fabrics. From a workflow perspective, practitioners speak of print quality, color fidelity, base white underlays for dark textiles, and the importance of temp-tune, pressure consistency, and dwell time. By understanding these related concepts, designers can choose the right film, ink system, and finishing steps to create durable, washable graphics at home or in small studios.
DTF Transfers Mastery: How to Apply DTF Transfers with Confidence
DTF transfers have redefined garment customization by delivering vibrant color, soft hand feel, and durable adhesion. This subtopic focuses on the practical question: how to apply DTF transfers with consistency and confidence. From design preparation to powder adhesion and precise heat application, mastering each step helps you achieve professional results regardless of fabric type.
A solid understanding of DTF printing on fabrics and transfer finishing ensures you can translate a design from concept to wearables with reliability. By aligning the transfer correctly, controlling peel method, and dialing in temperature and pressure, you’ll build a repeatable workflow that saves time and reduces misprints. Integrating this approach into your practice is essential for delivering high-quality, durable results to customers or creators.
DTF Printing on Fabrics: Materials, Prep, and Setup
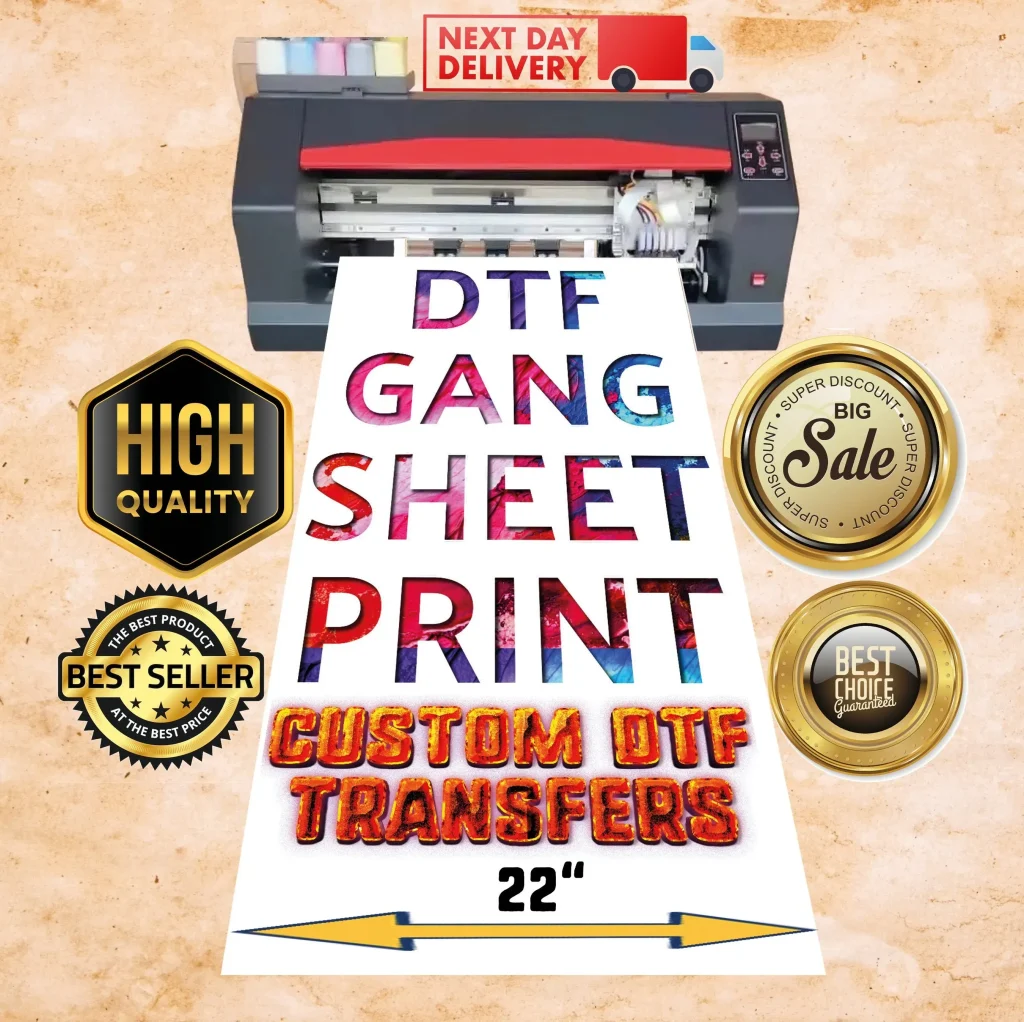
Choosing the right substrates and supplies is foundational for successful DTF printing on fabrics. Gather a capable heat press, PET transfer film, adhesive powder, carrier sheets, Teflon sheets, parchment paper, and a clean workspace. Proper prep—pre-washing or pre-pressing garments, lint removal, and precise alignment—sets the stage for accurate transfers and minimizes post-press issues.
Understanding fabric compatibility is crucial when planning a project. The article’s guidance on different blends, cottons, and synthetics helps you anticipate how heat, moisture, and fabric texture may affect adhesion and color fidelity. With careful preparation and the right materials, you can execute designs that stay vibrant wash after wash.
DTF Transfer Techniques: From Design to Adhesion
DTF transfer techniques begin with selecting a design that features strong color depth and defined edges. Printing on PET film and applying adhesive powder creates a ready-to-transfer layer, while curing or final heat activation solidifies the bond. This process emphasizes clean powder adhesion and meticulous inspection for any missed spots before transfer.
Effective transfer technique also means precise garment preparation and alignment. Use centerlines, pressing pillows for flat surfaces, and gentle pre-press checks to prevent wrinkles during transfer. The technique extends to post-press care, including peel method (hot or cold) and light re-pressing as needed to ensure edge-to-edge adhesion with minimal texture distortion.
DTF Transfer Heat Press Settings: Temperature, Time, and Pressure
Optimizing heat press settings is central to successful DTF transfers. Typical ranges of 305–320°F (150–160°C) provide a versatile starting point, but always consult your transfer film’s guidelines since the exact settings depend on ink, film, and fabric. Using medium pressure helps maintain even contact without flattening fine details.
Time and pressure require careful adjustment. Pressing for about 10–15 seconds is common, with minor tweaks based on fabric color and weight. After the initial press, evaluate adhesion and, if needed, perform a second light pass on problematic areas. Sudden changes in temperature or pressure can affect color integrity, so document what works best for future runs.
DTF Transfer Finishing Tips: Post-Press, Care, and Longevity
Finishing tips help lock in color and extend wear. Peel method, post-press cooling, and a possible final 5–8 second press at a lower temperature can improve bond and reduce edge lifting. Following care guidelines—turning garments inside out, washing cold, and avoiding high heat in dryers—ensures long-lasting designs.
To maximize long-term success, incorporate finishing tips such as test-pieces for dialing in settings, maintaining equipment cleanliness, and organizing a dedicated workspace. These practices support consistent results across runs and help you meet client expectations for durability and visual appeal.
Common DTF Challenges and Troubleshooting on Fabrics
Even with a solid process, issues can arise. Common mistakes include uneven adhesion, ghosting, and edge curling. Solutions involve ensuring even pressure, verifying the absence of fabric folds, and confirming the transfer film’s curing and powder adhesion are correctly performed before pressing.
Troubleshooting tips emphasize testing on scrap garments, adjusting dwell time, and selecting the appropriate peeling method per film specifications. Understanding fabric puckering, color bleed, and post-press handling can guide you to quick fixes and prevent recurrence, supporting a smoother workflow across diverse fabrics.
Frequently Asked Questions
How to apply DTF transfers: what is the essential step-by-step process?
Start with a clean design rendered for DTF transfers, print on PET transfer film, then apply adhesive powder evenly and let it dry. If required by your powder, cure it briefly before use. Prep the garment (pre-wash or pre-press), align the transfer centered on the target area, and set your heat press to about 305–320°F (150–160°C) with medium pressure for 10–15 seconds. Peel the carrier hot or cold according to your film’s guidance and finish with a brief post-press if recommended.
DTF transfer techniques: what factors influence adhesion and color fidelity?
DTF transfer techniques depend on clean design prep, proper powder adhesion, and correct curing/activation, plus precise heat, time, and peel method. Ensure accurate alignment, use a lint-free surface, and test on a small garment sample to dial in fabric type, color accuracy, and edge quality before full runs.
DTF transfer heat press settings: what temperatures and times should I use?
A typical starting point for DTF transfers is 305–320°F (150–160°C) for 10–15 seconds with medium pressure. Adjust the time and dwell based on fabric type (light vs. dark) and follow your transfer film’s specific guidelines for best results.
DTF transfer finishing tips: what steps help durability after pressing?
Cool the garment completely after peeling, then consider a post-press of 5–8 seconds at 275–300°F to further set the surface. Keep the workspace clean, protect the design with parchment or a Teflon sheet, and always follow the transfer film’s care guidelines for maximum durability.
DTF printing on fabrics: which fabrics work best and how should I design for them?
DTF printing on fabrics works well on cotton, cotton blends, and many synthetics. For dark fabrics, include a white underbase to help colors pop, and ensure the design fits the garment area with correct sizing. In many cases mirroring isn’t necessary, but always follow your printer and film guidelines.
DTF transfer techniques: what are common issues when applying DTF transfers and how can I troubleshoot them?
Common issues include uneven adhesion, ghosting, edge lift, and puckering. Troubleshoot by ensuring even pressure across the surface, proper powder adhesion and curing, using the correct peeling method, and re-pressing troublesome areas with a fresh layer as needed. Always test on a scrap garment first to fine-tune settings before production.
| Aspect | Key Points | Relevance |
|---|---|---|
| What are DTF transfers? | Deliver vibrant color, soft hand feel, and durable adhesion; versatile across fabrics; enables personalized fashion, custom workwear, and small-batch projects. | Foundation and value: explains why DTF transfers are attractive. |
| Process overview | Print design on PET transfer film; apply adhesive powder; cure if required; align on fabric; press; peel; finish. | Outlines the core workflow to achieve professional results. |
| Tools & prep | Heat press; clean workspace; pigment-ink DTF prints; adhesive powder; carrier film; Teflon/silicone sheet; parchment; ruler/grid; garment tape; lint roller; hanger/presser; heat-friendly surface. | Lists the essential setup for smooth application. |
| Design considerations | Mirror for light fabrics often unnecessary; dark fabrics require white underbase; size artwork for garment area; test color fidelity; ensure clean transfer surface. | Guides design decisions to optimize results. |
| Temperature & time | Typical 305–320°F (150–160°C); medium pressure; 10–15 seconds; adjust per film/fabric. | Defines key press parameters for successful bonds. |
| Peel & finishing | Peel carrier hot or cold per film; post-press optional; check edges; re-press as needed; allow cooling; final setting pass if recommended. | Addresses removal and final quality checks. |
| Fabric compatibility | Works on cotton, blends, many synthetics; some fabrics may need heat/time adjustments. | Highlights fabric reach and limitations. |
| Common mistakes | Uneven adhesion, ghosting, peeling issues, puckering; fix with even pressure, proper peeling method, possible re-press. | Prepares for troubleshooting. |
| Care & longevity | Durable with proper care: turn garments inside out, cold water, low heat; follow care guidelines. | Sets expectations for product care and lifespan. |
| Applications & benefits | Personalized fashion, custom workwear, small-batch projects; colors stay vibrant and textures remain flexible with proper technique. | Summarizes practical use cases and value propositions. |
Summary
DTF transfers provide a versatile method for garment customization, delivering vibrant color, a soft hand feel, and durable adhesion across a wide range of fabrics. This overview highlights the step-by-step process, essential tools, design considerations, and care tips that enable reliable results for personal projects and small-batch production. By following proper temperature, pressure, peeling, and finishing techniques, you can achieve professional-looking designs that endure wash after wash. With practice, you’ll expand your capabilities across fabrics and garment types, unlocking new opportunities in custom apparel.