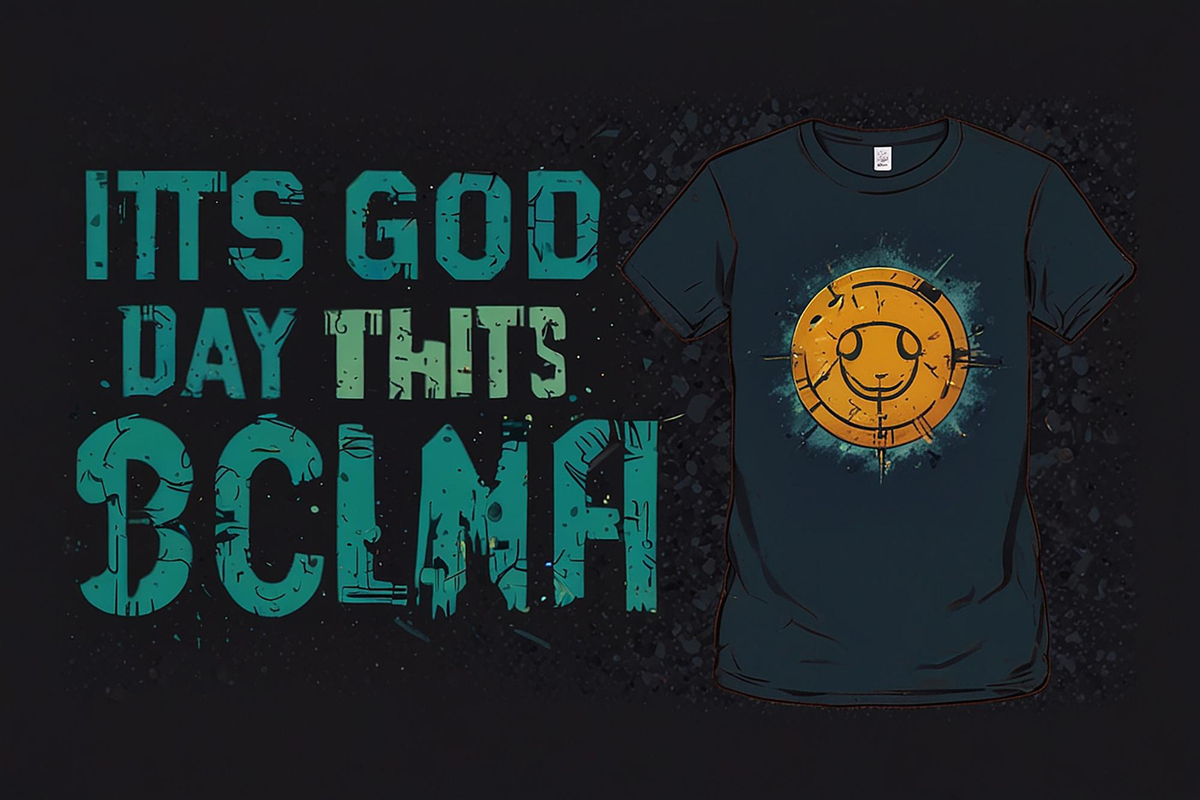
If you’re curious about upgrading your print shop with a modern transfer method, UV DTF printing is worth a close look. This beginner-friendly overview covers Direct-to-Film technology and how UV-curable inks drive vibrant color on textiles. If you’re getting started with DTF printing for beginners, you’ll learn the core workflow and how different DTF ink types affect durability. The guide emphasizes a repeatable DTF workflow your shop can rely on, helping you plan from design to heat transfer. With careful material choices and consistent post-transfer care, you’ll produce transfers that pop on both light and dark fabrics.
In other words, this technique is a film-to-textile transfer process that blends design flexibility with rapid curing. Think of it as ink-on-film decoration for apparel, where your artwork is printed onto a transfer film and later fused to fabric with heat. LSI principles suggest using related terms such as Direct-to-Film production, film printing for garments, and UV-curable digital transfers to broaden search relevance. Conceptually, the approach hinges on a simple pipeline—design, print, cure, apply adhesive, and press—consistent with the DTF family of workflows. As you explore equipment and inks, you’ll see how the same core idea shows up across industry terms like DTF workflow, film types, and curing methods.
UV DTF printing: What It Is, Why It Matters, and How It Fits Direct-to-Film Technology
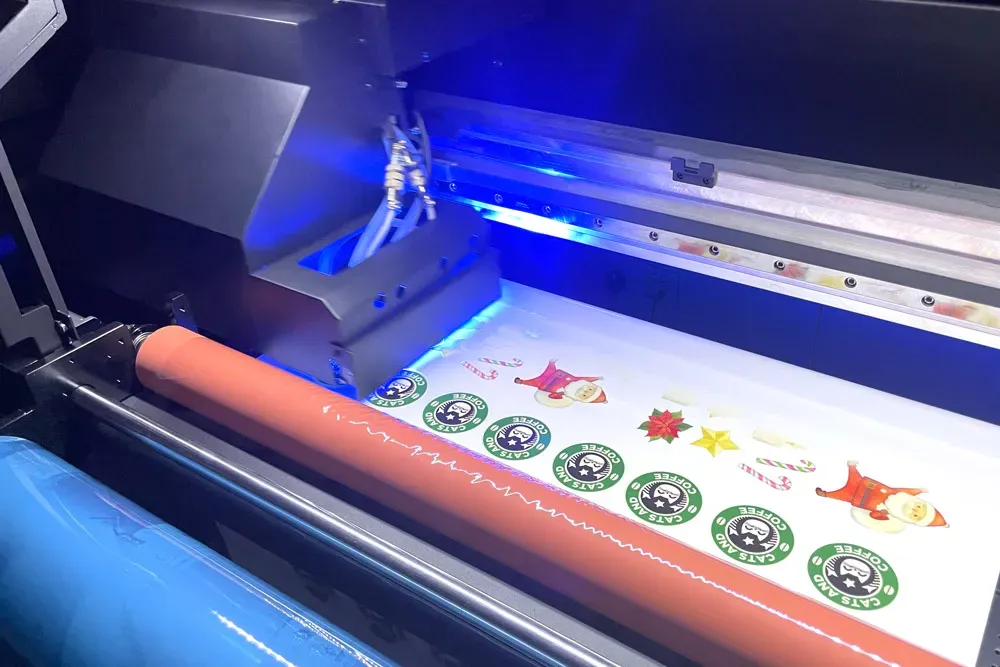
UV DTF printing blends Direct-to-Film technology with UV-curable inks to create transfer films that can be applied to textiles with a heat press. This approach sits squarely in the DTF printing family, following the familiar steps of design, film printing, powder adhesion, and heat transfer, but leveraging UV-curable inks for faster curing and richer color density.
For beginners exploring DTF workflows, the key is to understand the end-to-end process: design in CMYK, print on the transfer film, cure the ink, apply adhesive powder, cure the powder, and transfer to fabric. With UV DTF, you gain speed perks and bold results when you maintain a consistent DTF workflow and reliable equipment.
DTF Workflow Essentials: From Design to Transfer
Mastering the DTF workflow starts with solid design preparation, color management, and choosing the right film. In a typical DTF printing process, you design for apparel, export in CMYK, and prepare the film for printing before sending it to the printer.
Next comes the printing on film, curing the ink, dusting the powder, and curing the powder to fix it. Maintaining a documented DTF workflow—temperature, time, and pressure settings for each fabric—helps you repeat reliable results across different runs.
DTF Printing for Beginners: A Practical Start Guide
DTF printing for beginners benefits from a simple, repeatable path: prepare your design, print on the transfer film, cure, apply powder, cure the powder, and transfer with a heat press.
Start with a few test designs on light and dark fabrics to observe how color management and ink types behave on different textures. By following this approach, you build confidence in the DTF printing process while gradually expanding to more complex designs.
DTF Ink Types and Color Management in the UV DTF Era
DTF ink types vary from water-based to UV-curable formulations, each with its own cure behavior and color response. In the UV DTF era, understanding how ink chemistry affects drying times, film adhesion, and color density helps you optimize the DTF workflow.
Color management is essential for predictable results. Calibrate your printer, use consistent color profiles in CMYK, and soft-proof designs before printing, ensuring accurate reproduction for both light and dark fabrics in DTF printing.
Troubleshooting Common DTF Issues and Quality Assurance
Common problems like faded whites, ghosting, or powder comets often point to curing, powder adhesion, or misalignment in the DTF workflow. Troubleshooting starts with checking ink levels, ensuring proper film handling, and verifying the transfer temperature and time.
Quality assurance steps include running test prints, documenting settings, and inspecting the powder coating before transfer. By building a library of reliable “recipes” for each fabric and ink type, you reduce variability in DTF printing and improve overall durability.
Maintenance, Safety, and Best Practices for UV DTF Production
Safety comes first when working with UV inks and hot-melt powders. Ensure proper ventilation, wear protective gloves, and manage fumes during curing as part of a responsible DTF workflow.
Regular maintenance—cleaning print heads and film paths, refreshing powder hoppers, and calibrating heat presses—keeps equipment performing consistently. Establish a clean, organized workspace and document routine procedures to support scalable UV DTF production.
Frequently Asked Questions
What is UV DTF printing and how does it differ from traditional DTF printing?
UV DTF printing is a Direct-to-Film technology that uses UV-curable inks to print designs on a transfer film, which is then heat-pressed onto fabric. Compared to standard DTF printing, UV DTF printing offers faster curing, higher color density, and quicker production due to UV curing. The core workflow—design, print on film, cure, apply powder, and transfer—remains the same, with curing time being the main difference.
What equipment do I need to start UV DTF printing with Direct-to-Film technology?
To start UV DTF printing, you’ll need a printer capable of UV-curable inks (a UV DTF printer or a standard DTF printer compatible with UV inks), DTF transfer film, UV-curable or compatible inks, hot-melt adhesive powder, a heat press, a powder shaker, and suitable garments. A well-ventilated workspace and cleaning supplies are essential for safe operation. This setup supports the UV DTF workflow from print to transfer.
What is the typical UV DTF workflow and where does curing fit in?
In the UV DTF printing workflow, you design artwork, print on DTF film, cure the ink, dust and cure the adhesive powder, align the film with the garment, and transfer with a heat press, followed by peeling and post-care. Curing occurs after printing, using UV light or heat to fix the ink before powder application. Following a consistent DTF workflow improves color accuracy and transfer durability.
What are the main DTF ink types used in UV DTF printing and how do I choose?
UV DTF printing primarily uses UV-curable inks, which cure instantly under UV light or heat; some setups may use other ink types in non-UV DTF configurations. The ink choice affects color vibrancy, cure speed, and handling, so always follow your printer’s recommended DTF ink types and curing requirements. For beginners, test multiple ink types to balance color, durability, and hand-feel.
What are common issues in UV DTF printing for beginners and how can I troubleshoot?
Common issues include faded colors, white spots, ghosting, or peeling after wash. Check ink levels and color management, ensure proper curing and powder adhesion, verify film alignment, and confirm heat-press temperature, time, and pressure match the ink and garment. Maintaining a consistent UV DTF printing workflow and performing regular test prints helps diagnose and prevent these problems.
What beginner tips help improve results in UV DTF printing?
For beginners, stay consistent with film, powder, and heat-press settings to reduce variability in UV DTF printing. Practice calibration with test prints, document your recipes (temperature, time, pressure), keep your workspace clean, and ensure proper ventilation for safety. These UV DTF printing tips align with the DTF printing for beginners approach to building reliable, repeatable results.
| Aspect | Key Points | Notes |
|---|---|---|
| Definition | UV DTF combines Direct-to-Film with UV-curable inks to create transfer films for fabrics. | |
| Why Use | Offers high-resolution, vibrant images; instant curing; supports on-demand printing and short runs; beginner-friendly when following a consistent workflow. | |
| Equipment & Materials | UV DTF printer, DTF transfer film, UV/DTF inks, hot-melt adhesive powder, heat press, weighing tools/shaker, garments/textiles, cleaning supplies; well-ventilated workspace. | |
| Workflow Stages | Design -> Print on film -> Cure/dry -> Powder application -> Powder cure -> Transfer prep -> Transfer -> Peel & post-care. | Follow printer/ink manufacturer specs for temperatures and times. |
| Beginner Steps | Prepare design; Print on film; Dry & powder; Cure powder; Align & transfer; Post-transfer care. | |
| Fabric & Color Considerations | Fabric type affects vibrancy; calibrate color management; target 300 dpi; ensure proper powder adhesion. | |
| DTF vs UV DTF | Traditional DTF uses water-based inks; UV DTF uses UV-curable inks with rapid curing; core workflow is similar. | |
| Tips & Best Practices | Maintain consistency; keep workspace clean; maintain equipment; test often; document recipes. | |
| Common Problems | Faded colors; uneven powder; white spots; peeling after wash; ghosting. | Check curing, powder adhesion, and film alignment. |
| Maintenance & Safety | Ventilation; protective gear; regular cleaning; proper storage. | |
| Market & Adoption | Start with small runs; monitor cost per transfer, color accuracy, durability; evolve with experience. |
Summary
UV DTF printing opens a practical and scalable route for beginners to produce high-quality transfer designs with robust color and durability. By understanding the core workflow—from design to film printing, powder curing, and heat transfer—you’ll be well on your way to mastering Direct-to-Film technology. With careful attention to material choices, printer calibration, and consistent post-transfer care, your results will improve over time, helping you deliver eye-catching apparel that customers love. Keep practicing, document your settings, and stay curious about new inks and films as the technology evolves.